A common problem that students face is: How to Run Ubuntu within Windows i.e., without installing Ubuntu in dual mode. Windows provide a feature for this. This feature is called “Windows Subsystem for Linux”. By default, this option is disabled in Windows. There are some simple steps to activate this feature. Below is step-wise procedure is with snapshots.
Pre-requisite: Windows 10 (Anniversary Edition and Above)
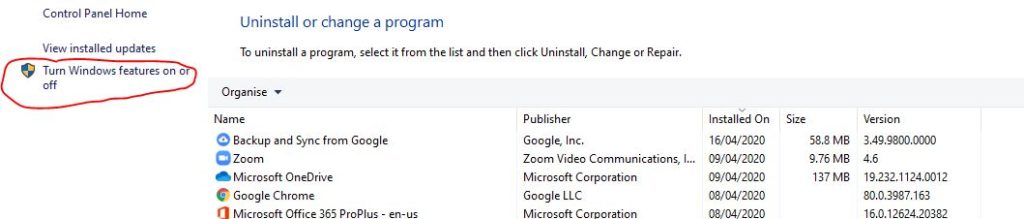
Step 1:Open “Control Panel”
Step 2:Click on “Programs and Features”

Step3: On the Left Pane click on “Turn Windows Features on or off”. A Popup window will appear. Wait for the content to be visible.
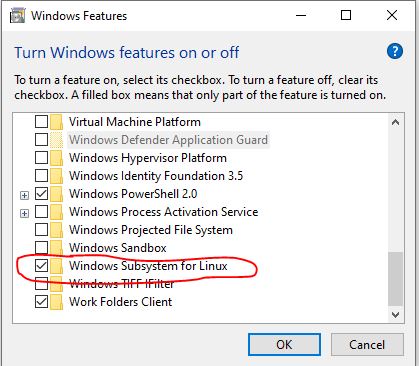
Step 4: Scroll down until you find “Windows Subsystem for Linux”. By default it is unchecked. Select it and press “ok”. The system will make changes and ask for “Restart”. Restart the system as asked.
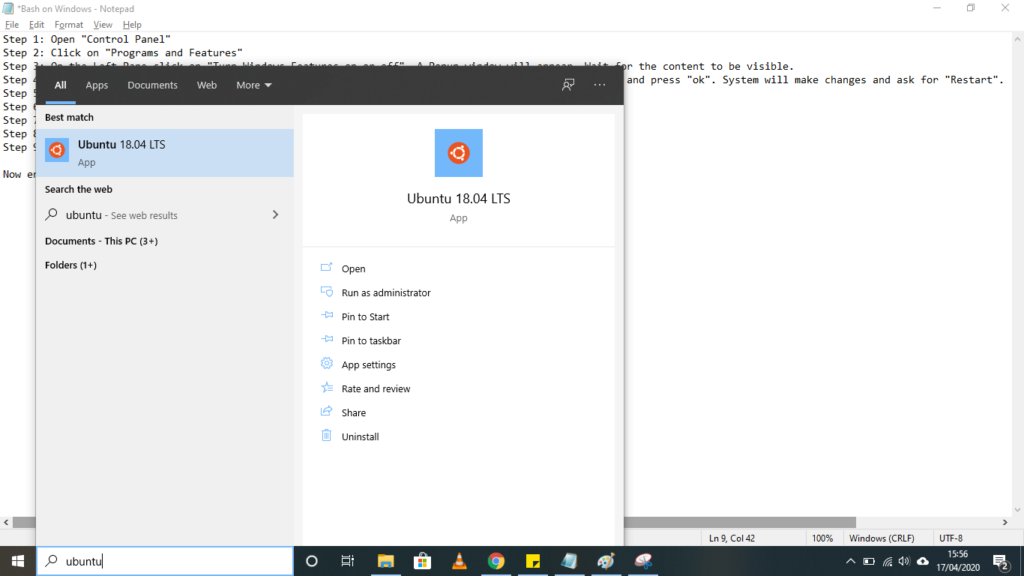
Step 5: After restarting open “Microsoft Store”
Step 6: Click on search and type “Ubuntu”. Select Ubuntu 18.04 LTS


Step 7: Click on “Get”

Step 8: Let it download and then launch it. Follow the steps as asked and you are good to go.
Step 9: After installation. Launch ubuntu
Now enjoy the Ubuntu in Command Line mode within Windows just like any other application.

Video Link
For more details on How to Run ubuntu within windows? visit https://ubuntu.com/tutorials/tutorial-ubuntu-on-windows#1-overview